Bald Mountain Golf Course

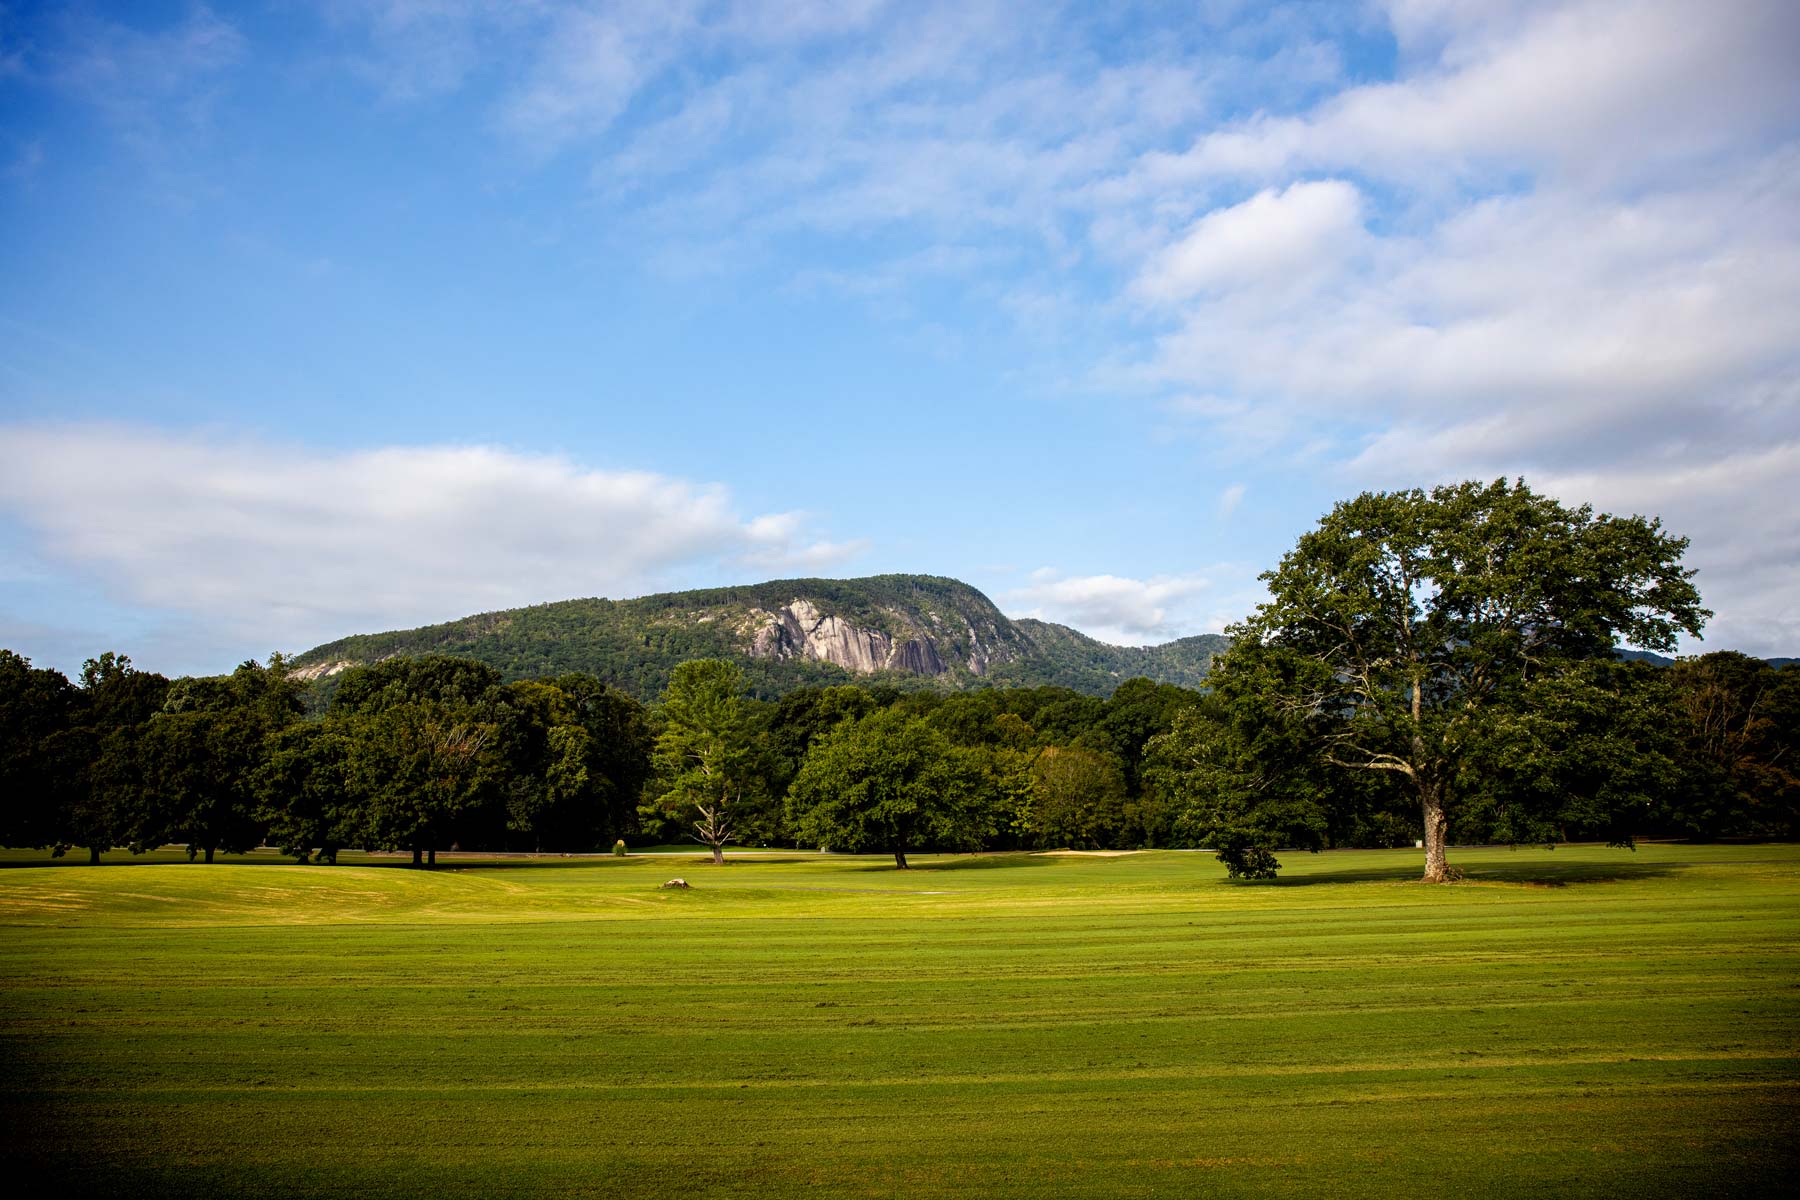
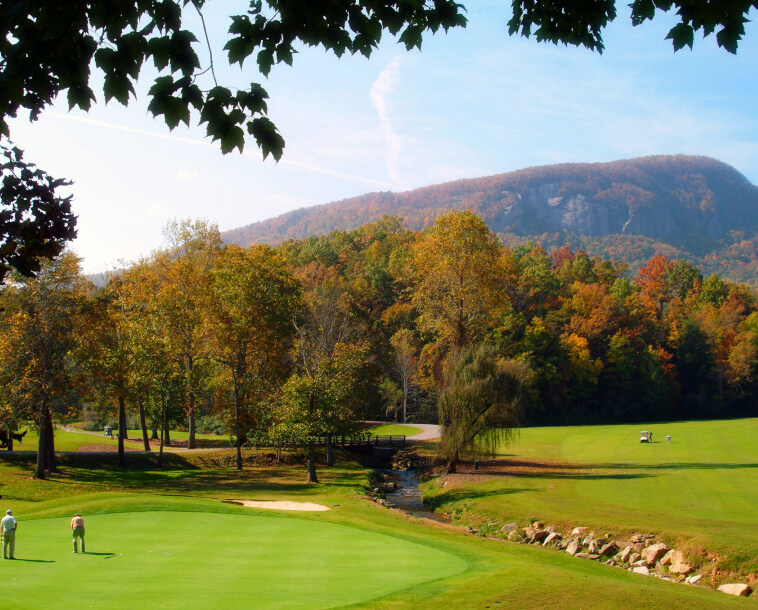
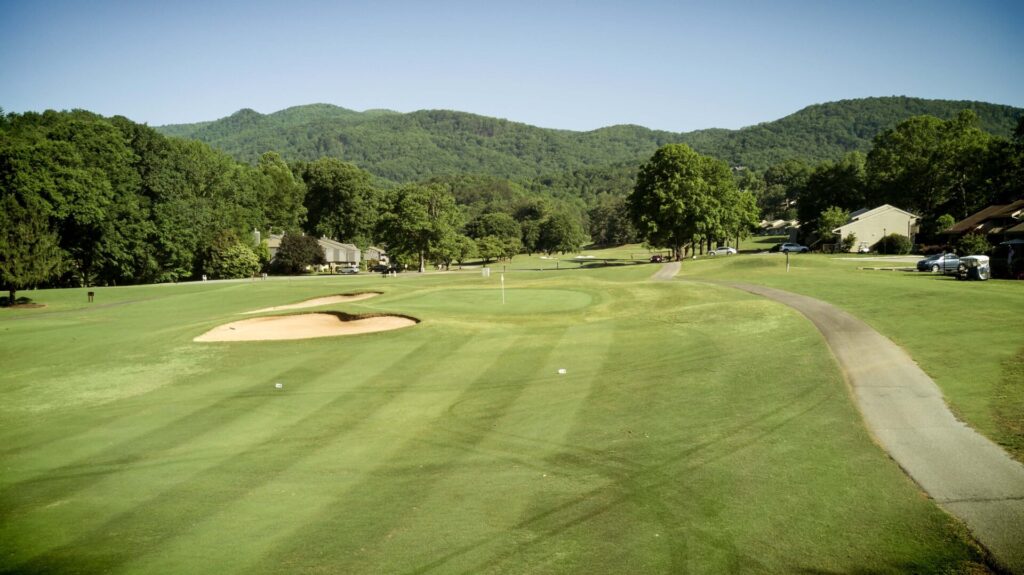
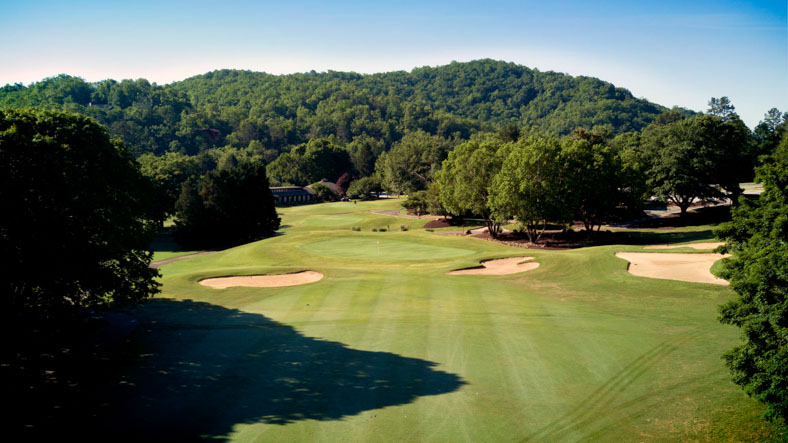
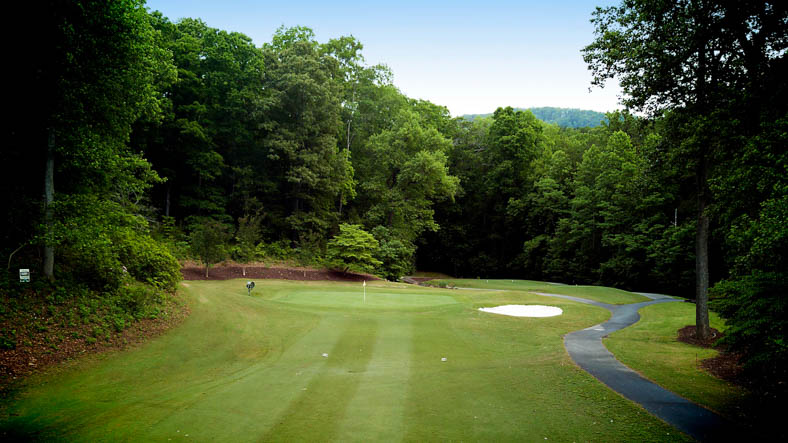
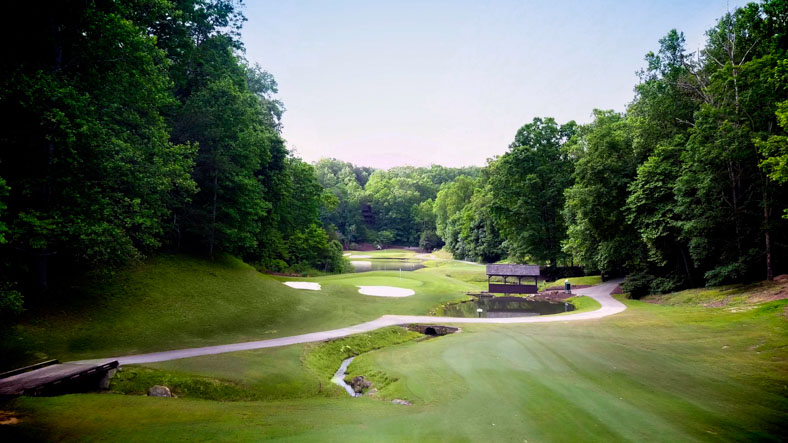
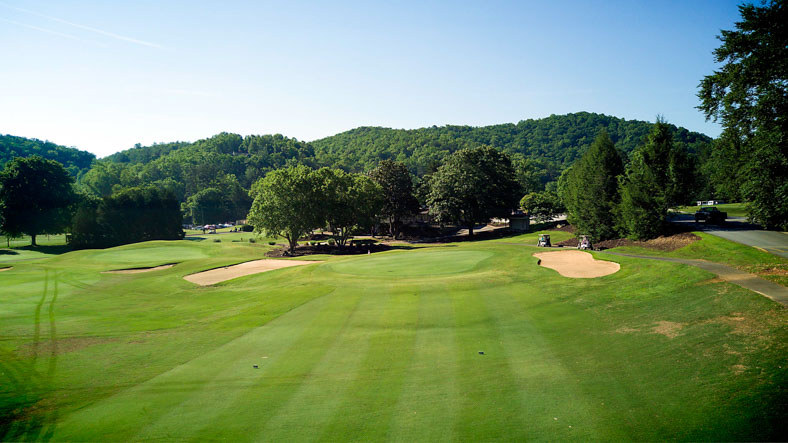
Designed by W.B. Lewis, 6,300-yard Bald Mountain is renowned for its unique configuration of five par 5s and five par 3s. Movie buffs appreciate the 16th green, the backdrop of a scene from the movie “Dirty Dancing.”

Course Information

  • As a 72 par, 18-hole course it contains five par 5 holes, five par 3 holes, and eight par 4 holes.
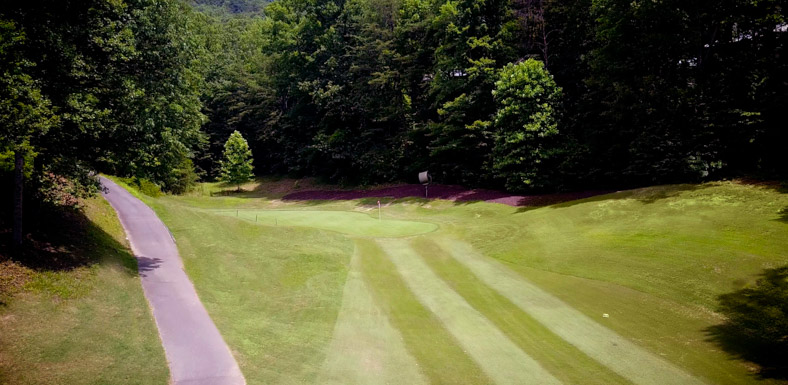
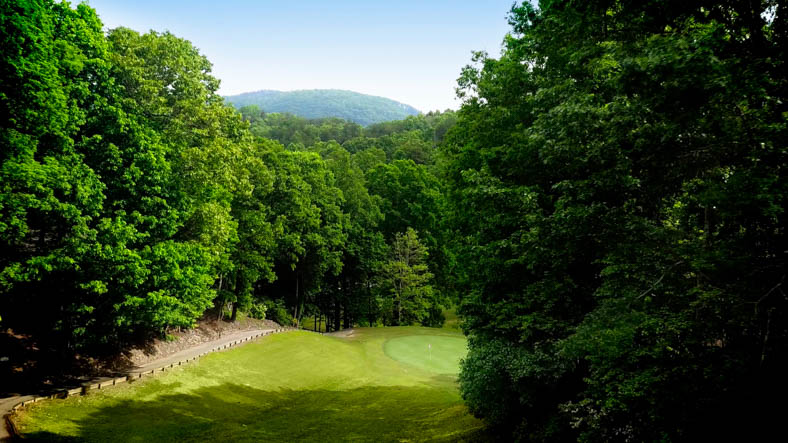
  • Small greens and narrow tree-lined fairways.
  • All putts tend to break towards Bald Mountain.
  • The course has four sets of tees and measures 6,283 yards.
  • Course rating of 70.9 and a slope rating of 128.

Hours of Operation: 8:30am-4pm (daily)

Address: 162 Mountains Blvd, Lake Lure, NC 28746

Dress Code: Proper golf attire is required on the golf course, driving range and putting green at all times. No cutoffs, short shorts, tennis shorts, jeans of any kind, tank tops, track shorts or halter tops are allowed and proper footwear is required. The use of metal spikes is prohibited.

Rated one of the top courses in North Carolina by Golf Channel’s Golf Advisor, Bald Mountain was designed by George Cobb (architect of the par-3 course at Augusta National) protégé W.B. Lewis. Checking in at just over 6,300 yards, it is one of the only courses in the region featuring five par 3s and five par 5s. That includes both an opening and closing three-shotter, the 496-yard first hole and 479-yard 18th. Bald Mountain is the ideal complement to Apple Valley offering a decidedly different, yet unforgettable, golf experience.

Take a 360° Tour of Bald Mountain

Hole by Hole section

Course Tour

Designed by W.B. Lewis, 6,300-yard Bald Mountain is renowned for its unique configuration of five par 5s and five par 3s. Movie buffs appreciate the 16th green, the backdrop of a scene from the movie “Dirty Dancing.”

Hole 1 • Par 5

Our starting hole is a slight dogleg left that is easily accessible from all tee boxes. The green is guarded by a bunker on the left.

Hole 2 • Par 3

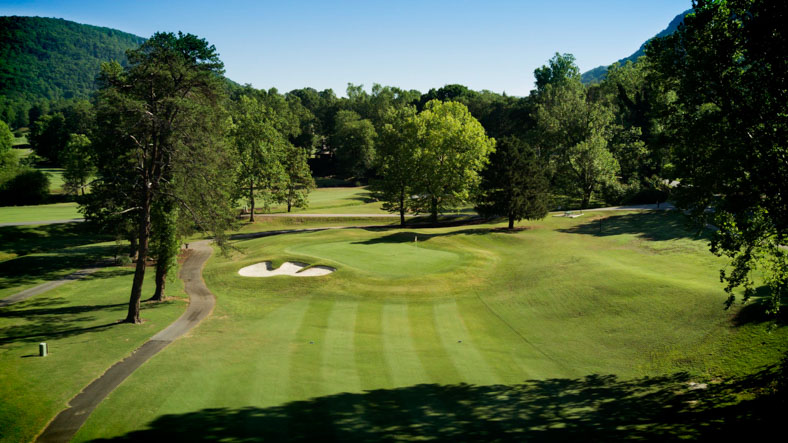
Our first par 3 is guarded in the front by bunkers with a two-tier green making it very important to be on the same level as the flag.

Hole 3 • Par 4

On this dogleg right par 4 the 150 is key to giving yourself an easy approach to the green. The further left you are in the fairway the more green you will be able to see.

Hole 4 • Par 3

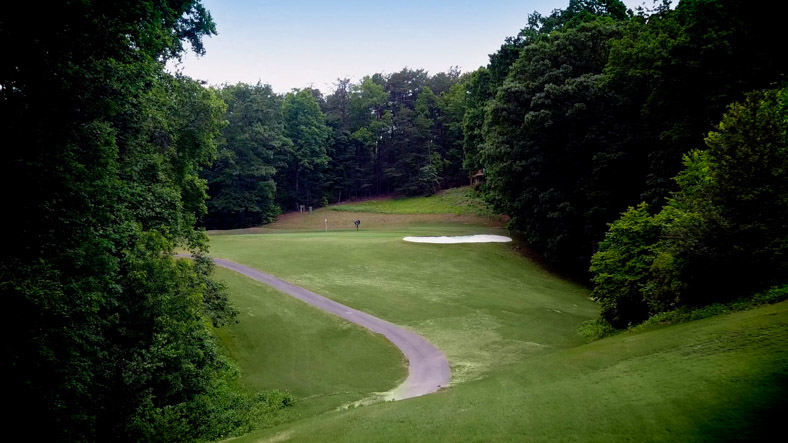
Our second par 3 for the round plays downhill by one club length just hitting the green can give you a good opportunity at birdie.

Hole 5 • Par 4

This uphill par 4 is easily reachable if you stay on the left side of the fairway. Everything will funnel towards the center of the fairway. This is a three-tier green with a false front.

Hole 6 • Par 3

Number 6 is one of our harder par 3’s. The safe play is to be center or right of center on green. You don’t want to be short, left or longer here.

Hole 7 • Par 5

Our second par 5 is risk reward if you try to go over the water, the left side is the line to take that can leave you a short second shot in. Otherwise playing this hole as 3 shots is the way to go.

Hole 8 • Par 4

This is one of our shorter par 4s which does not require driver from the tee. A solid tee shot will leave you a short iron in, just beware of the left greenside bunker.

Hole 9 • Par 5

Nine is a straightaway “grip it and rip it” par 5 with no danger left or right. Going for the green in 2 here is a green light as it’s very receptive to shots long or short.

Hole 10 • Par 4

It’s important to be on the left side of this fairway to give yourself a good second shot into this slanted green. This is a great opportunity at a birdie to start your back nine.

Hole 11 • Par 4

The 11th hole plays as one of the harder holes on the course. There is an extreme uphill elevation change for your second shot.

Hole 12 • Par 3

Number 12 features one of the largest greens on the course making this hole look like one of the easiest. The green slopes from back to front, so you want to be below the hole when putting.

Hole 13 • Par 4

On 13 it is important to hit to where you can see. Staying on the top level of the fairway will give you a wedge into a severe downhill approach shot.

Hole 14 • Par 4

The 14th hole is guarded by a creek that run down the right side of the fairway. Staying center left gives you plenty of space for a good second shot.

Hole 15 • Par 5

This is a tight par 5 near the tee area that opens up the further down you go. The green is extremely protected which gives you a high risk shot if you attempt to go for it in two.

Hole 16 • Par 3

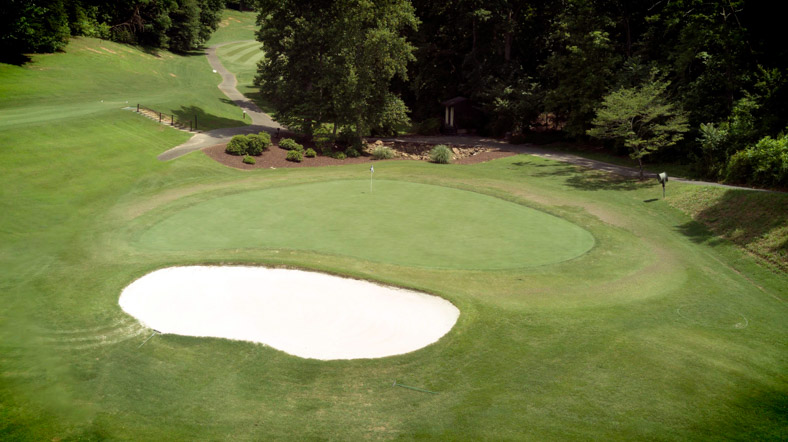
16th is one for the movies. It’s a scene location from the hit movie “Dirty Dancing”.

Hole 17 • Par 4

The fairway is wider than it appears from the tees. Stay left for the best approach angle.

Hole 18 • Par 5

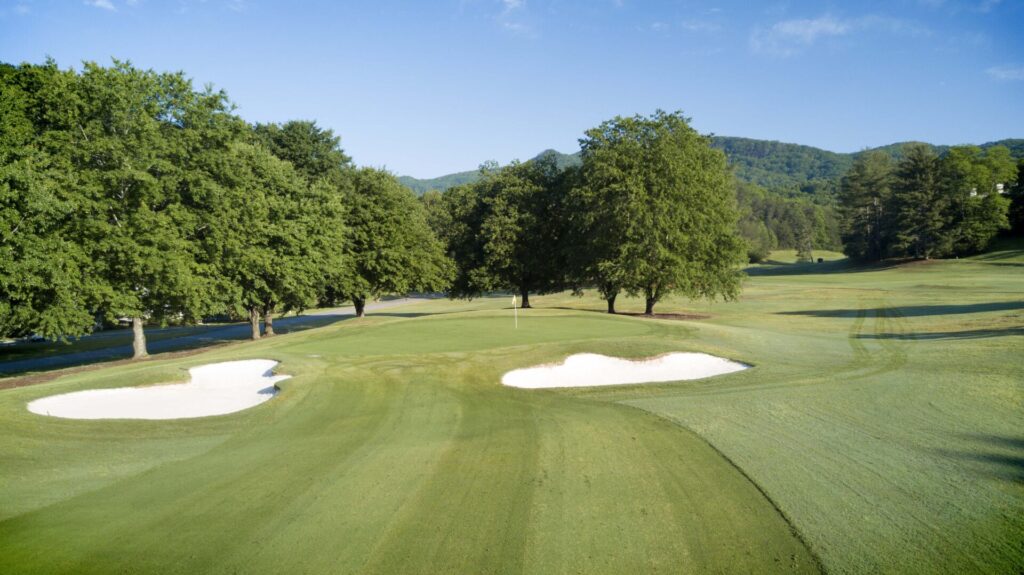
Our final hole is a visual illusion as there is more room right than you can see. The green is guarded with bunkers on both sides. Shots have a chance to chase up to the putting surface.

Bald Mountain live

Live Bald Mountain Golf Course Webcam

Webcam overlooking the practice area and first tee at our Bald Mountain golf course.